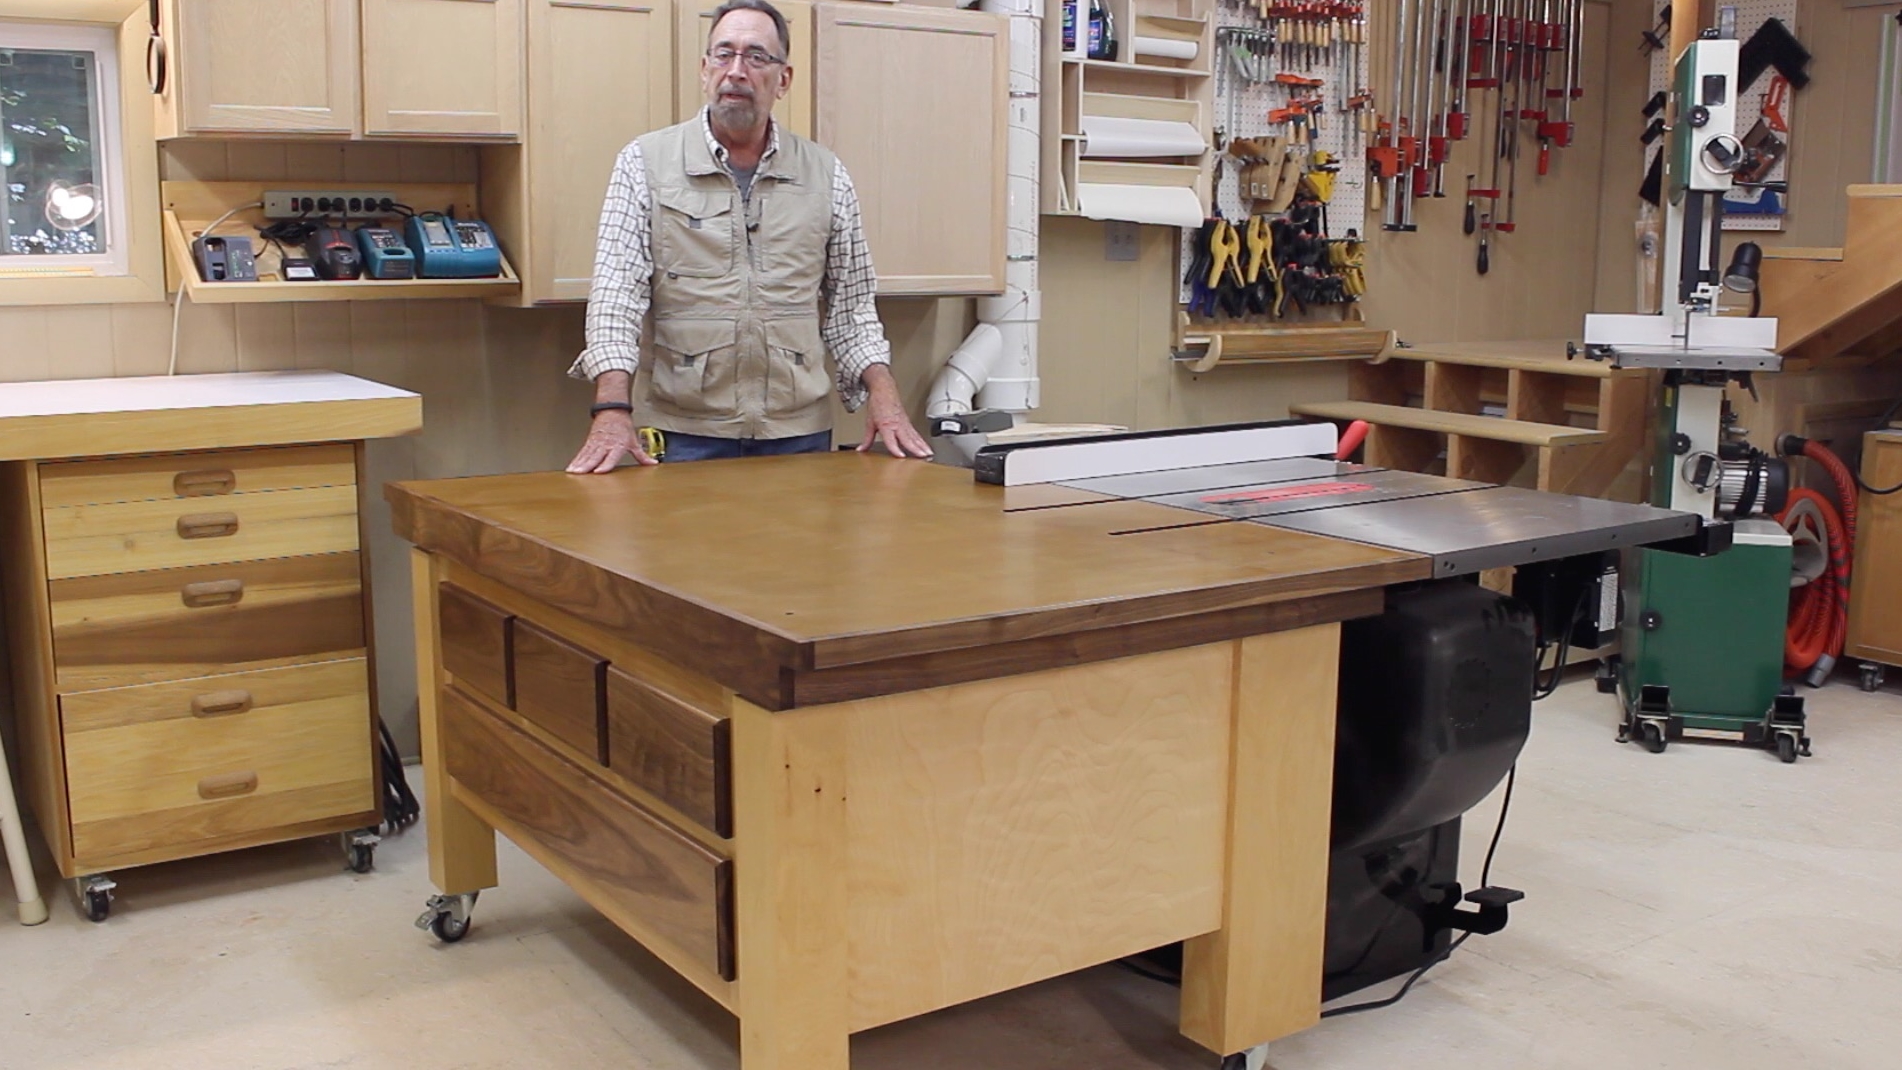
OutFeed Table built for the SawStop Professional Cabinet Saw but adaptable to the SawStop Industrial or many other types of table saws. The OutFeed Table features an adjustable height torsion box top, convenient shelves on the "saw side" and spacious drawers on the "outfeed side."


Watch the videos...
Part 1 --- Combination outfeed table, assembly table, and storage for the SawStop PCS. Mobile, able to be leveled to the saw's top, big enough for serious work. Sturdy torsion box top, storage drawers and shelves. Built (almost) exclusively with the SawStop PCS table saw.
Part 3 --- In this segment Steve uses the SawStop PCS Table Saw to make the 45-degree miter corners and to cut the rabbets for the pedestal leg assemblies for the new multi-purpose out feed table. Also, the first-time switchover to the dado set... adding an auxiliary fence... adding a miter gauge extension...
Part 5 --- Watch this installment to see how Steve installs the independently adjustable torsion box top leveling system. Also in this segment the locking wheels get installed and shelf pin holes for the adjustable shelves are drilled. The walnut trim pieces are installed, with all the miters being cut on the SawStop saw using the standard (included) miter gauge.
Part 2A --- Building a torsion box can be tricky and tedious, but the payoff is a dead flat surface perfect for doing assembly work and glue-ups. In Parts 2A & 2B, Steve builds the torsion box top for the SawStop out feed table.
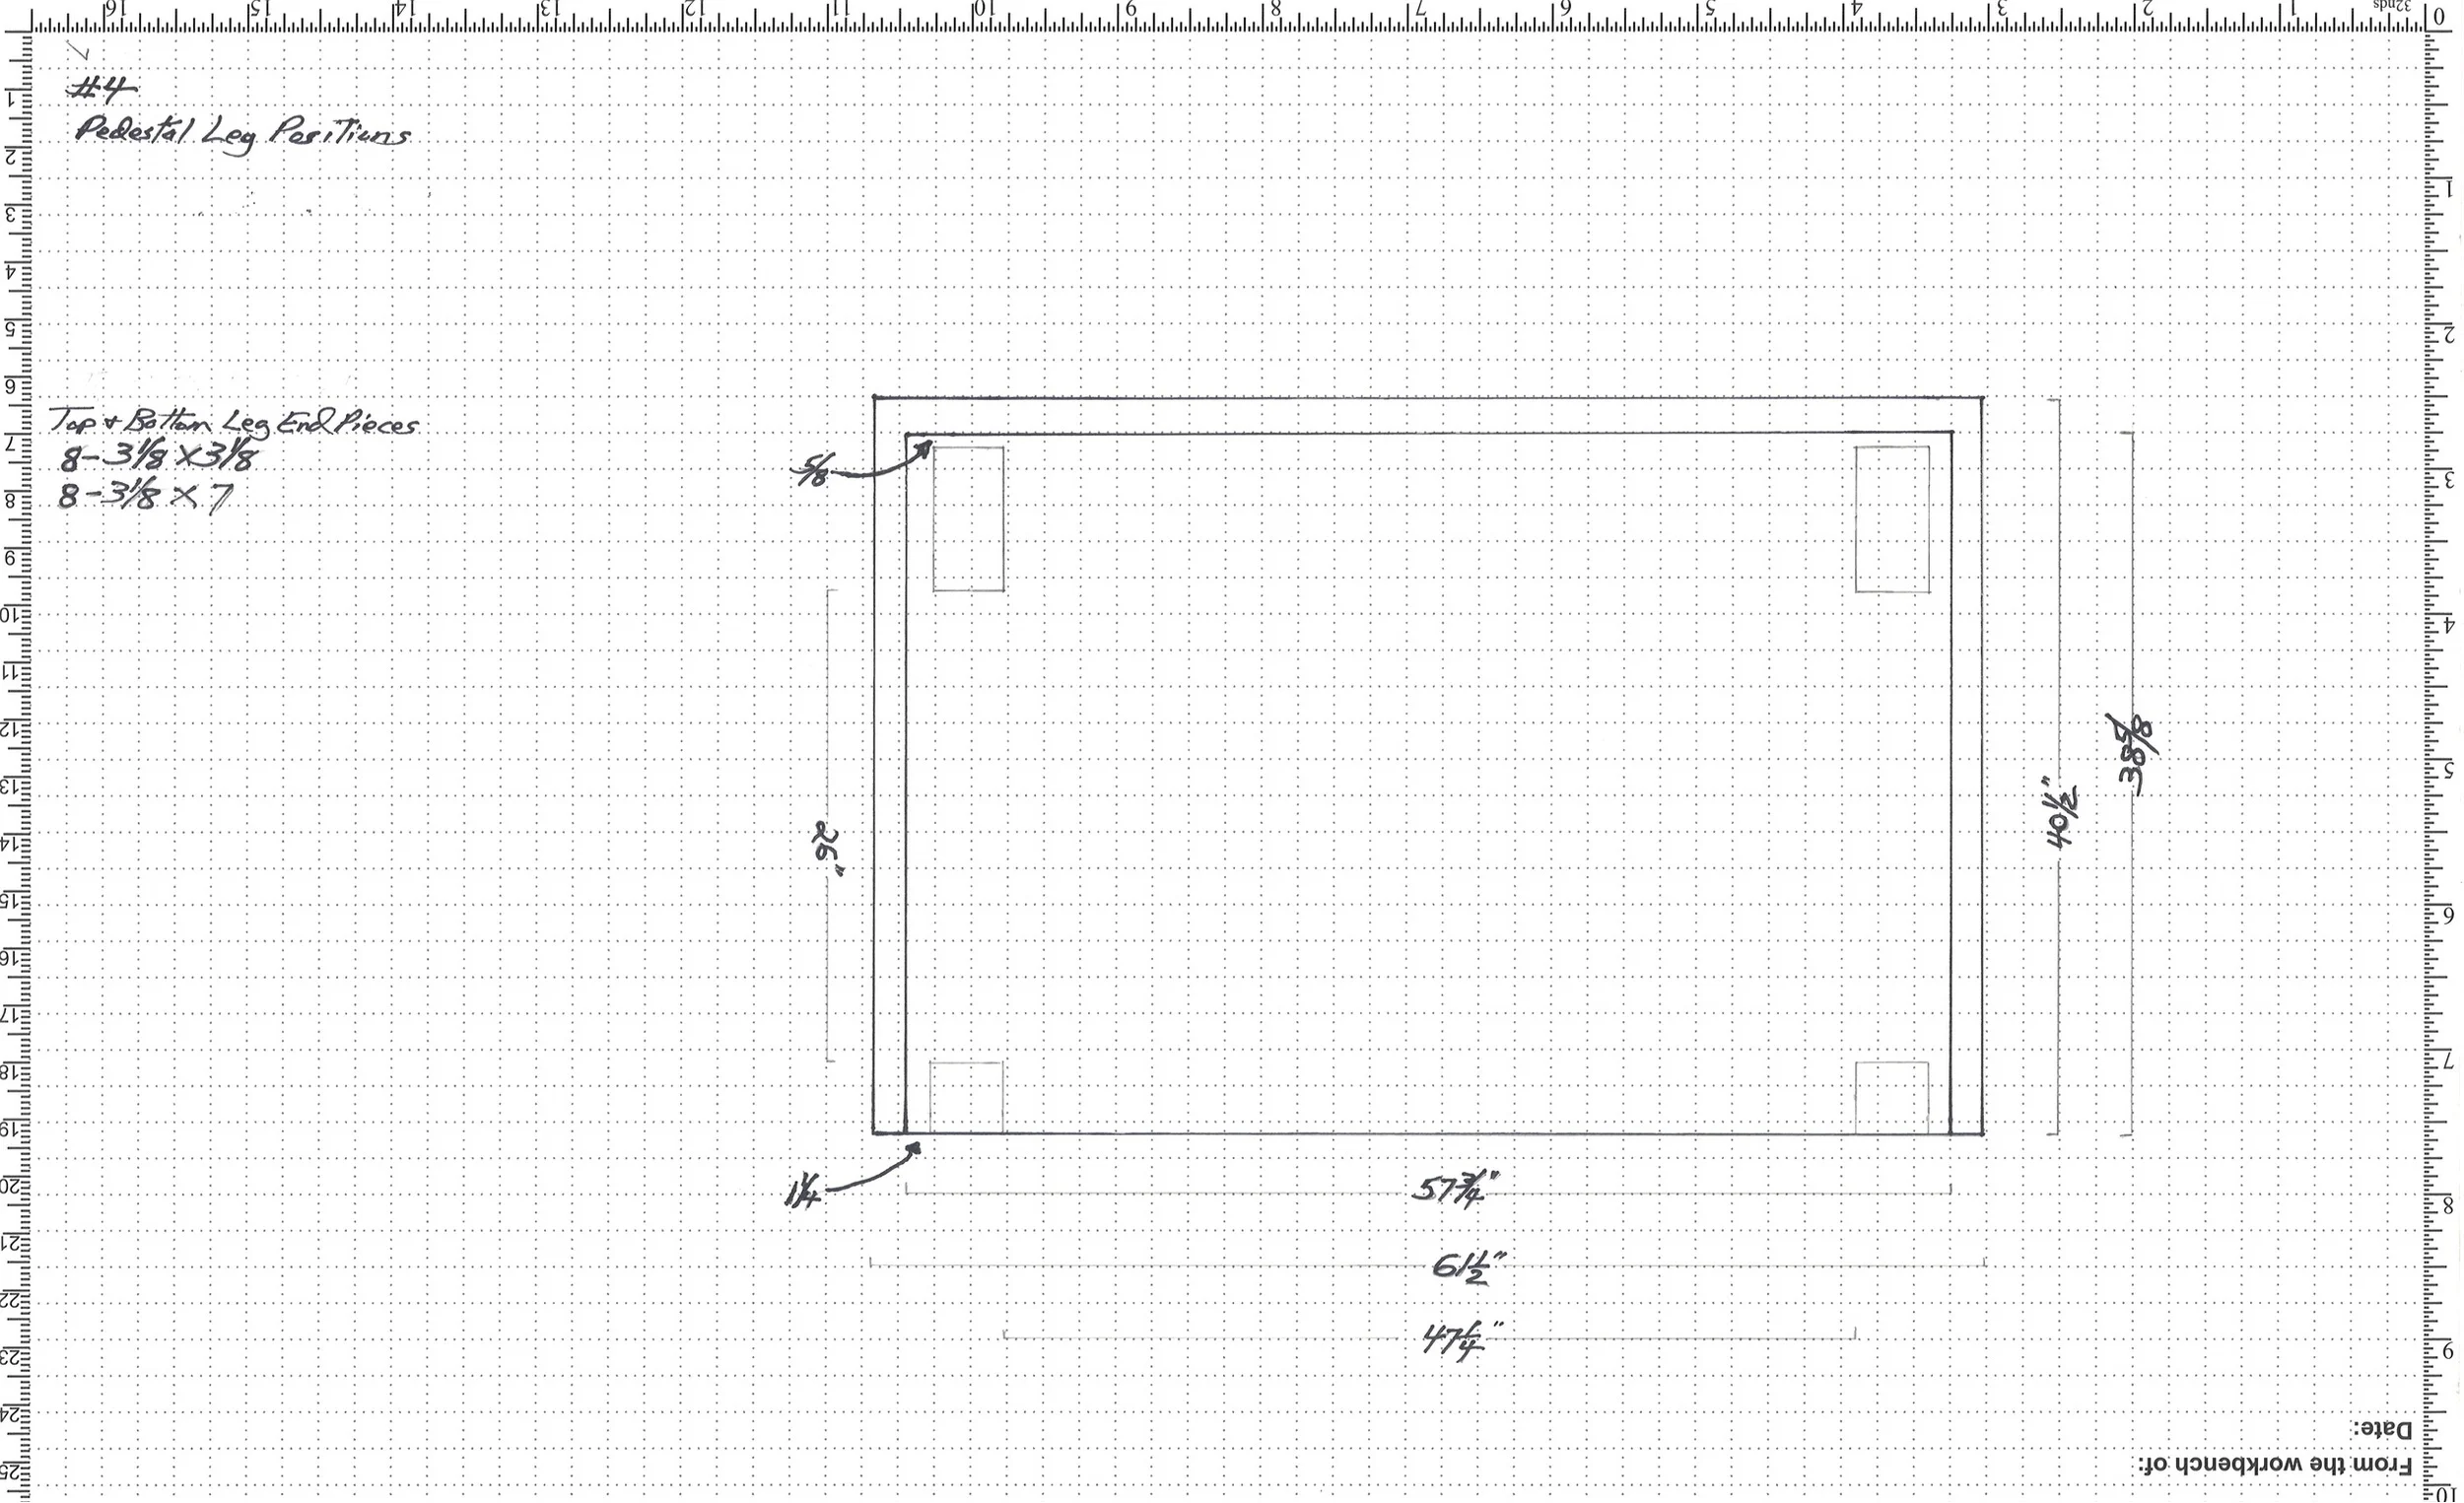
Part 4A --- In this installment we verify the drawing dimensions, use the Festool Domino system to assemble the face frame, conduct a time trial while changing the SawStop from a regular blade to the dado stack, fabricate the trim for the overhanging edge of the torsion box top assembly, and use a skew block plane to trim up the dados.
Part 6A --- Just about finished! Building the drawers with a locking drawer joint, all done on the SawStop Table Saw. Also, installing the drawer slides, attaching the decorative drawer fronts, routing a relief groove for the miter gauge runners, making the shelves with a decorative stiffener edge, and putting on the shellac and wiping varnish finish.
Part 2B --- In this section, Steve finishes up the internal grid, prepares for the level-adjusting mechanism, and applies the top of the "sandwich."
Part 4B --- Cutting the dados in the leg assemblies proves to be a challenge. Positioning them correctly and making them "stop" in just the right place is key to a square, solid assembly. In this video we work through the techniques and procedures needed to assure a solid, square, and easy glue-up.
Part 6B --- Just about finished! Building the drawers with a locking drawer joint, all done on the SawStop Table Saw. Also, installing the drawer slides, attaching the decorative drawer fronts, routing a relief groove for the miter gauge runners, making the shelves with a decorative stiffener edge, and putting on the shellac and wiping varnish finish.